
Why MQTT
MQTT opens the channel; the platform does the rest
Although it was born as an M2M technology, today MQTT is one of the most widespread Internet of Things communication protocols, thanks to its integration simplicity and flexibility.
That is why many commercial sensors have native MQTT integrations that can be configured to connect to a specific broker. However, MQTT only establishes a channel for communications. To create an IoT project you need other tools for management, storage or data visualization, and that is the role IoT platforms play.
Since the beginning of the project, Thinger.io has been committed to its own optimized protocol, which uses PSON to encode information. It follows a more advanced communication model, allows more efficient infrastructures and supports advanced operations to manage devices. But given how far MQTT has spread over the years, many developers would benefit from the platform’s tools if they could integrate MQTT devices on it. So why not offer this integration too?
That native protocol is now published as an open specification: IOTMP.
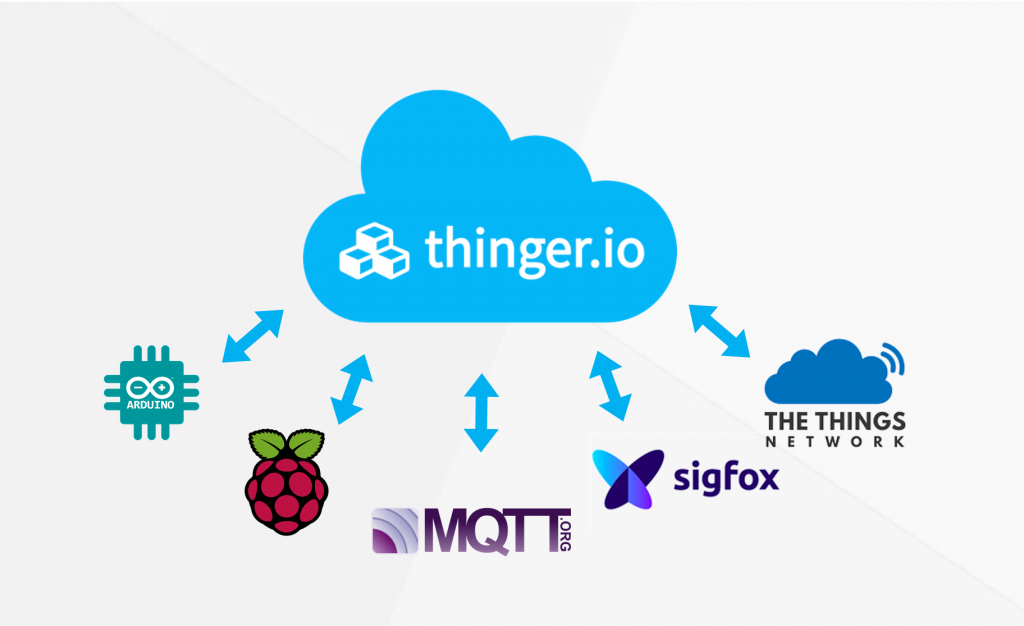
The platform already integrated Sigfox, LoRaWAN with The Things Network, and any other HTTP device that can be integrated through its REST API. Adding MQTT is one more step towards linking every kind of IoT device under the same infrastructure, whatever network technology it uses, so devices work together and share data and resources transparently. Every way to connect a device is on the Device connectivity page.
Integration
Integration of MQTT devices with Thinger.io
The process is explained in detail in the documentation; this brief example connects an MQTT client to the platform in two steps.
The full process is in the MQTT section of the documentation. The client in the example is MQTT.fx.
Create an MQTT device
Set the broker and device credentials in the client

MQTT defines a publish/subscribe messaging paradigm: devices publish data on a specific topic, or subscribe to a topic to retrieve data from the broker. These are the settings the client needs for the device “mqtt1” created above:
Broker settings
- Broker address
- The instance domain, e.g. acme.aws.thinger.io
- Broker port
- 1883 · 8883 (SSL/TLS)
- User name
- Your Thinger.io user account ID
- Client ID
- The device identifier set in the device form
- Password
- The key placed in the device’s “Device credentials” field
- MQTT version
- 3.13.1.1

Publish and subscribe
A small network of producers and consumers
Once the first MQTT client is connected, it can start sending data to topics.
In the example, one client publishes on the Thinger.io MQTT broker under the topic home/garden/fountain, and a second client subscribes to the same topic. That makes a small network of data producers and consumers, perfect for first tests and for checking the performance of the broker, with which we are very satisfied.
{
  "example_text": "Hello World",
  "value": 123
}
Published by one client, received by the other

home/garden/fountain.
Inside the platform
A broker built for the rest of the platform
The broker was built from scratch on version 3.1.1 of MQTT, focused on a proper integration with the platform’s features.
Device dashboard
Data Buckets
Dashboards
Node-RED
Update, 2026: products now give MQTT devices API resources, so they get the same REST API as IOTMP devices and work in the API explorer and on dashboards; properties and buckets can also be fed from an MQTT topic. See Fleet management.
Connect your MQTT devices
The built-in broker sits next to IOTMP, HTTP, LoRaWAN and Sigfox in the same console.


